Showing posts with label Monday Made It. Show all posts

Monday, August 12, 2013

Monday Made It & Limited Time Freebie

I'm going to keep this a short Monday Made It. I made more things than just this one, but all I have time to share right now is one thing.

We started back to school today, but I wanted to make sure I posted about this since I'm offering it as a freebie for a limited time! (This week only!)

Today, as I was sitting at my desk, I decided I needed something cute to label my bookbag hooks. This is what I came up with:


Head over to my TPT store and snatch up these labels while they're free!

While you do that, I'm off to shower and collapse into bed...

Monday, July 29, 2013

Monday Made It: Polka Dot Explosion

It's Monday! That means it's time for one of my favorite Linky parties - Monday Made It hosted by Tara at 4th Grade Frolics. I'll be stopping over there after I post this to check out what others have made.

 
I have been very busy making things lately since it's back to school in just two short weeks. I finally got the email today saying that I can get up to work in my room starting next Monday. It's not an official work week, but I guarantee you I'll be up at the school a lot. There's still a lot to do in the new classroom since I haven't been able to put ANYTHING away yet. Luckily, I'll have my best helpers (my parents) in tow!
 
Now that we have the exciting news out of the way (yes, I'm excited about getting back to work), we'll move onto my projects for the week. I'm sure I've made more, but I'm going to share three different projects today.
 
#1
The first project for Monday Made It is one that I finished last week. It took paint, wood pieces from AC Moore, and painters tape. I've posted at tutorial here if you're interested in seeing exactly how I made the sign below and how I messed up along the way.
 
 
I'll be attaching some ribbon to the back and it'll be hung outside my door. I love the way it turned out. I learned a thing or two about painting along the way. This entire project cost less than $2. (If you have the paint already...otherwise add in a little more for the paint.) The next two projects were actually completed today.
 
#2
Yesterday, I went to an awesome local open craft time and made some really cool things for myself. However, when I headed to the craft time, I had planned a different project. I forgot the Washi tape though! So, I worked on that project today and I must say I am now an official fan of Washi tape. The stuff is amazing!
 
 
I posted Saturday about the reading buddies I use in my classroom. They are great for motivating students to read independently but I decided I needed something to make "Visit the Teacher" more inviting. I had some small popsicle sticks and a roll of Washi tape sitting among my craft stuff. I've had the craft sticks for a while (I'm not sure when or why I bought them), but the Washi tape was actually bought for a different classroom project. My clothespins are at school though so I can't work on that project yet.
 
I decided to go ahead and try out the Washi tape and came up with these tiny pointers that students are going to be able to use during our reading group time. Now, I just need to find a cute little container to hold them in! The wolf is just an example - it would not fit in well with my décor. :)
 
#3
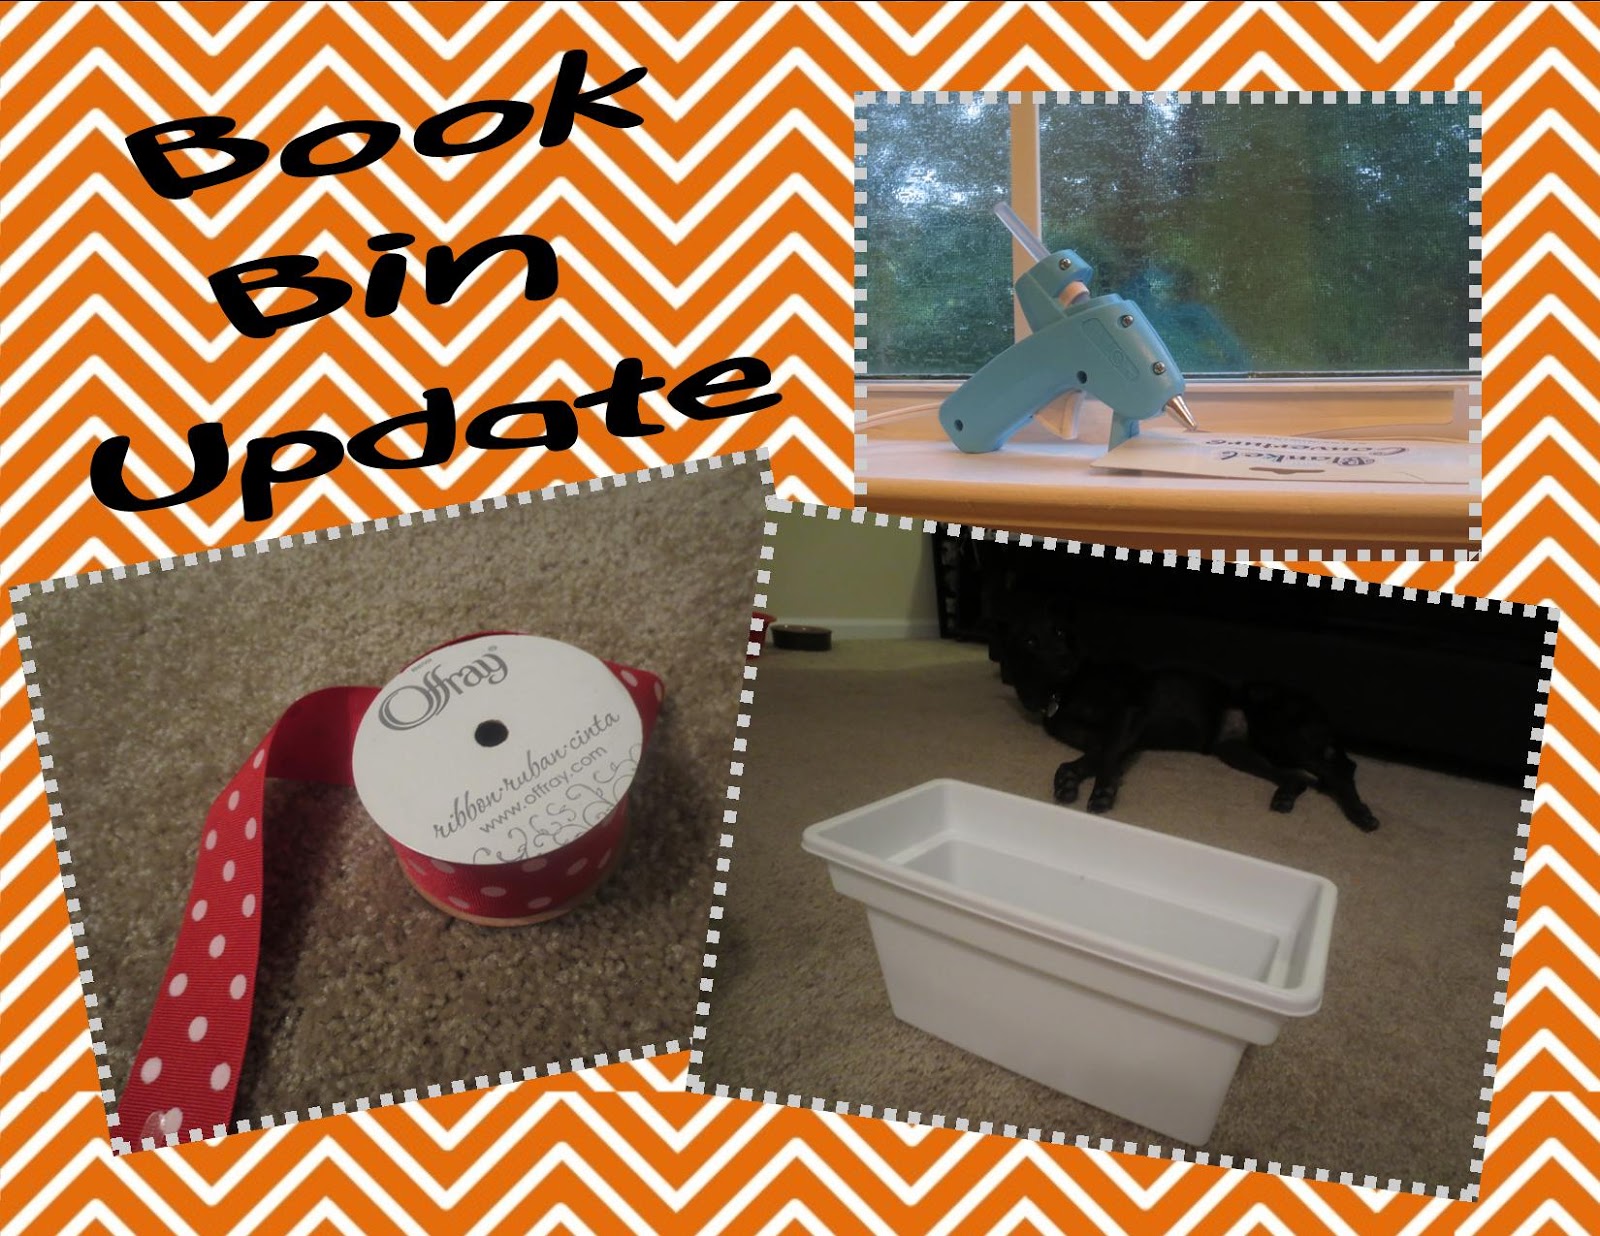
The last project that I worked on today is another one of my big summer updates. Do you remember the white bins I use for my reading bins? The ones that were getting washed and then getting a face lift? Well, they got their face lift today! All it took was the ice bucket, ribbon, and some hot glue.
 
 
I took the ribbon and put it around the middle of the bin. I used hot glue to keep it in place. You'll notice that the ribbon doesn't quite meet on the one side - that's okay! I'm going to cover that mess with cute tags once I have student names to put on them. I think these will look much nicer in their cubbies this year. In this picture, you can see that I have the cutest help ever!
 
 
Disaster struck in the middle of this project though! I ran out of ribbon. :(  Apparently it took a little more than I anticipated. So, I'll be making a trip to Wal-Mart at some point. I should probably evaluate what else I need before I go so that I don't make multiple trips.
 
 
I feel like I've actually gotten something accomplished today. Way to turn around a rainy day! What's my next project? Turning fabric into pillows for my reading center...
 
 
Also, don't forget that everything in my TPT shop is FREE until the end of July. If you download something, I would love it if you left feedback!
 

Monday, July 22, 2013

Monday Made It

This is going to be a quick Monday Made It post as I'm in the middle of a lot of projects for school.


One of my BIG summer projects:

I turned these colorful drawers (that have seen three years of use by kids)...


Into this:

 (With help from my dad and spray paint. Oh, and the clear drawers from my mom's drawers at home. She now has the colorful ones! Love my parents.)


A computer creation I'm working on (to match my décor!):


An at home creation I'm working on:

 
I'm sure I'll have many more projects to post next week!  I've been busy working on my to do list for the new school year.
 
And don't forget to enter my Random Raffle!! You could win an item of choice from my TPT store! I'm uploading new things often this summer.

Monday, July 15, 2013

Monday Made It & Giveaway!

Linky time!  This time I'm linking up for Monday Made It. I've got three items to share with you and two of them are currently available in my TPT Store.


I'll start with the first item I made. Every year, I give my newsletter template a facelift. In most cases, this means completely recreating it. This year is no exception. I started from scratch and came up with this lovely bit:

 
It's front and back and customizable. This item is not yet available on TPT, but I hope to have it up there soon! (You can find my old newsletter templates for sale in my store though.)
 
The next item I'm going to share is one that I made last night. I have been thinking about Meet the Teacher night and how I would like it to run. This year, my goal is to make it super parent and kid friendly with a little fun thrown in. For now, I'm going to share what I came up with. I will post a more detailed plan later this week. For now, check out this FREEBIE in my TPT store.
 

The last item I made is a Meet the Teacher night PowerPoint that keeps with my nautical pirate theme. Head on over to TPT to snatch it up! For this week only, it will be half off making it only 50 cents to purchase!


Just like all my other goodies in the store, this one can be customized as well! Head right over here to snatch it up while it's on sale!

Or...follow my blog and leave a comment on this blog post with your email for a chance to win the power point template!!

Now, I'm off to continue working on a pirate themed classroom handbook. Keep an eye out for more pirate goodies coming in the near future!

Monday, June 10, 2013

Monday Made It - Clip Charts


My first Monday Made It! I'm excited to participate in this one. It's hosted by Tara over at 4th Grade Frolics.

Last year, I decided to jump on the bandwagon and try out the infamous clip chart that is floating all over the place. I'm referring to the clip chart with 7 colors (the colors often vary in order) where students start in the middle and can move up or down. I was looking for a more effective management system and after lots of searching, I settled on the clip chart.

I quickly realized I would need a chart if I was going to make this system work. I originally planned on using construction paper and laminating it. Then, I got a crafty thought. I thought of craft foam and how much more durable it is. I quickly set out to find craft foam and devised a chart from it. Well, actually, I created two charts - one for me and the other for my friend down the hall.


I used paper sized craft foam and punched holes in the corners to allow ribbon to thread through. The ribbon (along with tape on the back for reinforcement) was to hold the chart together. The top colors (the positive ones) were bigger than the bottom to encourage students to move up and not down. I used a pants hanger to keep the entire thing hung in the classroom. The clip charts are shown here hanging on a closet in my apartment. They hung well in the classroom all year and are stored away awaiting a new bunch of kids next year!

Well, I've got a friend in town so I'm keeping this one short, but I wanted to share something I'd made. I'm looking forward to many more crafts this summer!